Planting Guide
A planting guide designed to help ensure the success of your plantings.
Bare-root plants are planted while dormant (before or after the growing season) and ideally as soon as you receive them. They can be planted in cold weather as long as the soil isn’t frozen. They can be stored before planting.
Potted plants (we use root-prune pouches) can wait to be planted as long as they’re watered regularly.
Storing Bare-Root Trees & Shrubs
- As soon as you receive your shipment, we recommend soaking the roots in water for an hour before storing your trees.
- If you cannot plant trees immediately wrap tree roots tightly back into a moist sawdust medium and place in a cool, dark area where they won’t freeze. Check on them regularly to ensure that the roots are staying moist (not wet), adding small amounts of water if necessary.
- If you are unable to plant the trees for more than a week, we recommend “heeling” them into the soil or compost, as follows:
- Bury the roots of the trees in a hole in the ground or in your compost pile.
- Ensure that the roots are completely covered in a thick layer of soil and that there are no major air pockets.
- Gently water the trees to help settle the soil and remove air pockets.
- You can keep your trees heeled in until the buds begin to swell, at which point they should be planted immediately. However, we recommend planting your trees/shrubs as soon as you receive them well before buds begin to swell.
Storing Bare-Root Perennial Wildflowers & Cuttings
We recommend storing bare-root perennial wildflowers in the refrigerator. If refrigerated space is not available, keep the plants in a cool, dark area where they won’t freeze. Your plants will be shipped in a bag of sawdust and should remain tightly wrapped in that medium until they are planted. If the medium begins to dry out, add small amounts of water to keep it moist (not wet).
Planting Bare-Root Trees & Shrubs
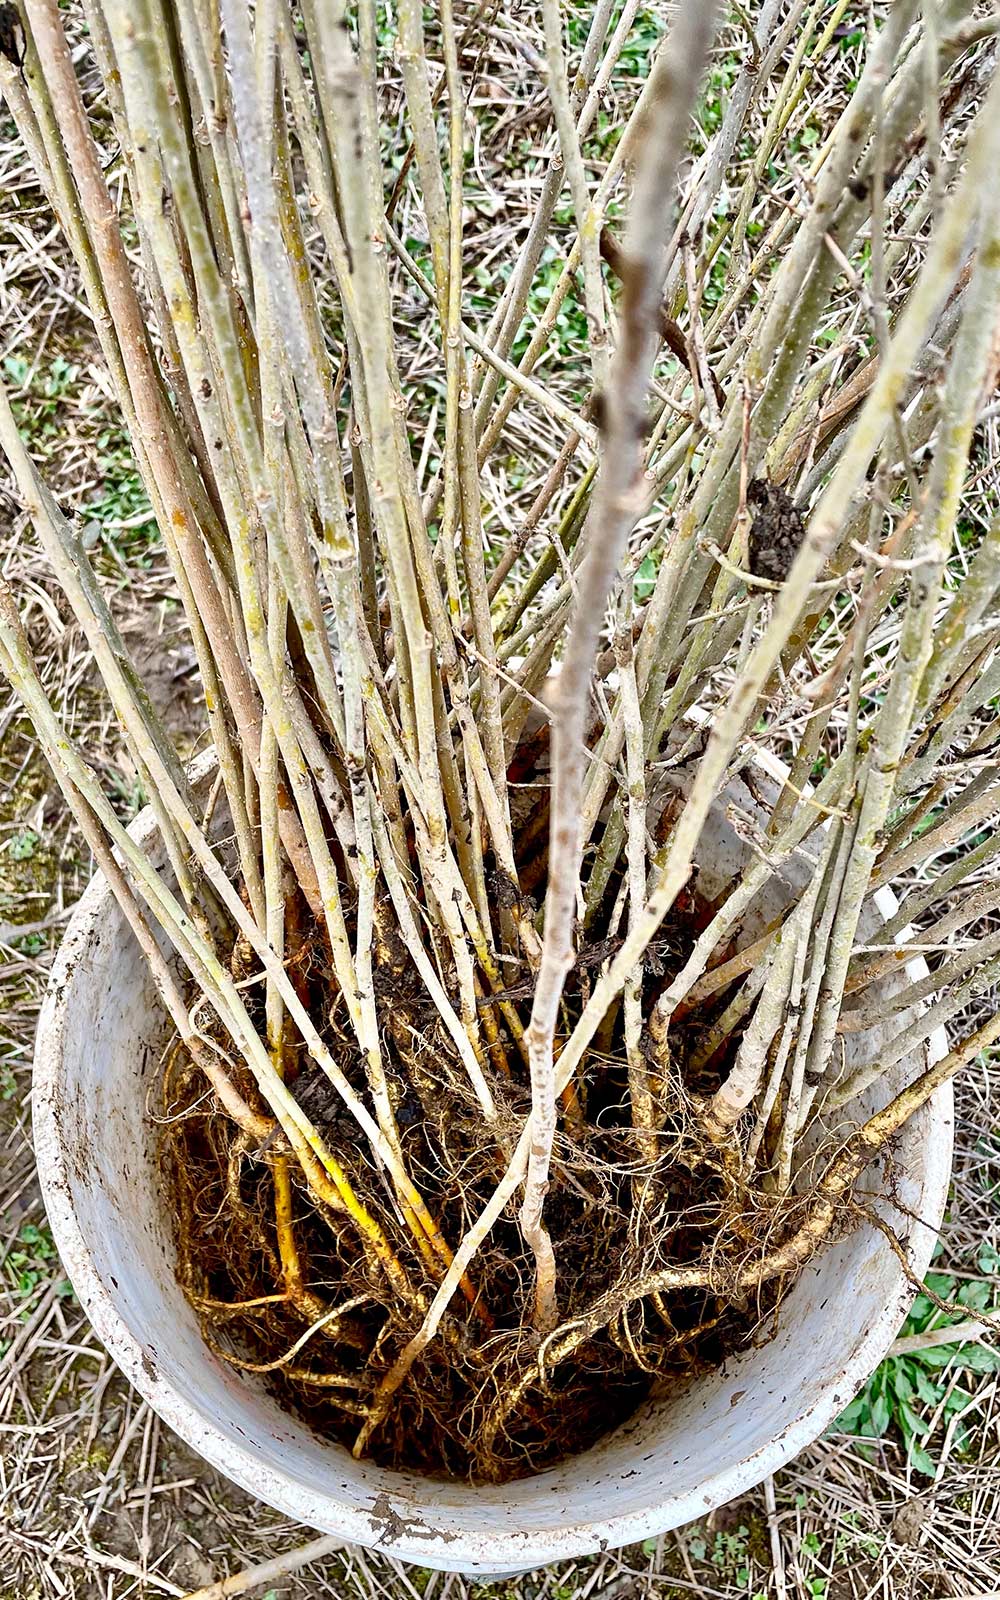
Soak your trees/shrubs in water with the roots completely covered for at least an hour before planting. You can soak them for up to eight hours to ensure proper hydration, especially if they’ve been stored for more than a week. It is vital to keep the roots of your plants out of direct sunlight during the planting process. We recommend keeping them in a bucket with enough water to completely cover the roots while you are planting.
- Dig a hole at least twice the diameter of the root system and as deep as the depth of the root system.
- Place the tree into the planting hole, making sure the top roots sit at or just above the surface of the existing ground level. The tree should be planted at the same depth that it was grown in. The soil level is usually indicated on the stem where there is a change in color from the root to the stem.
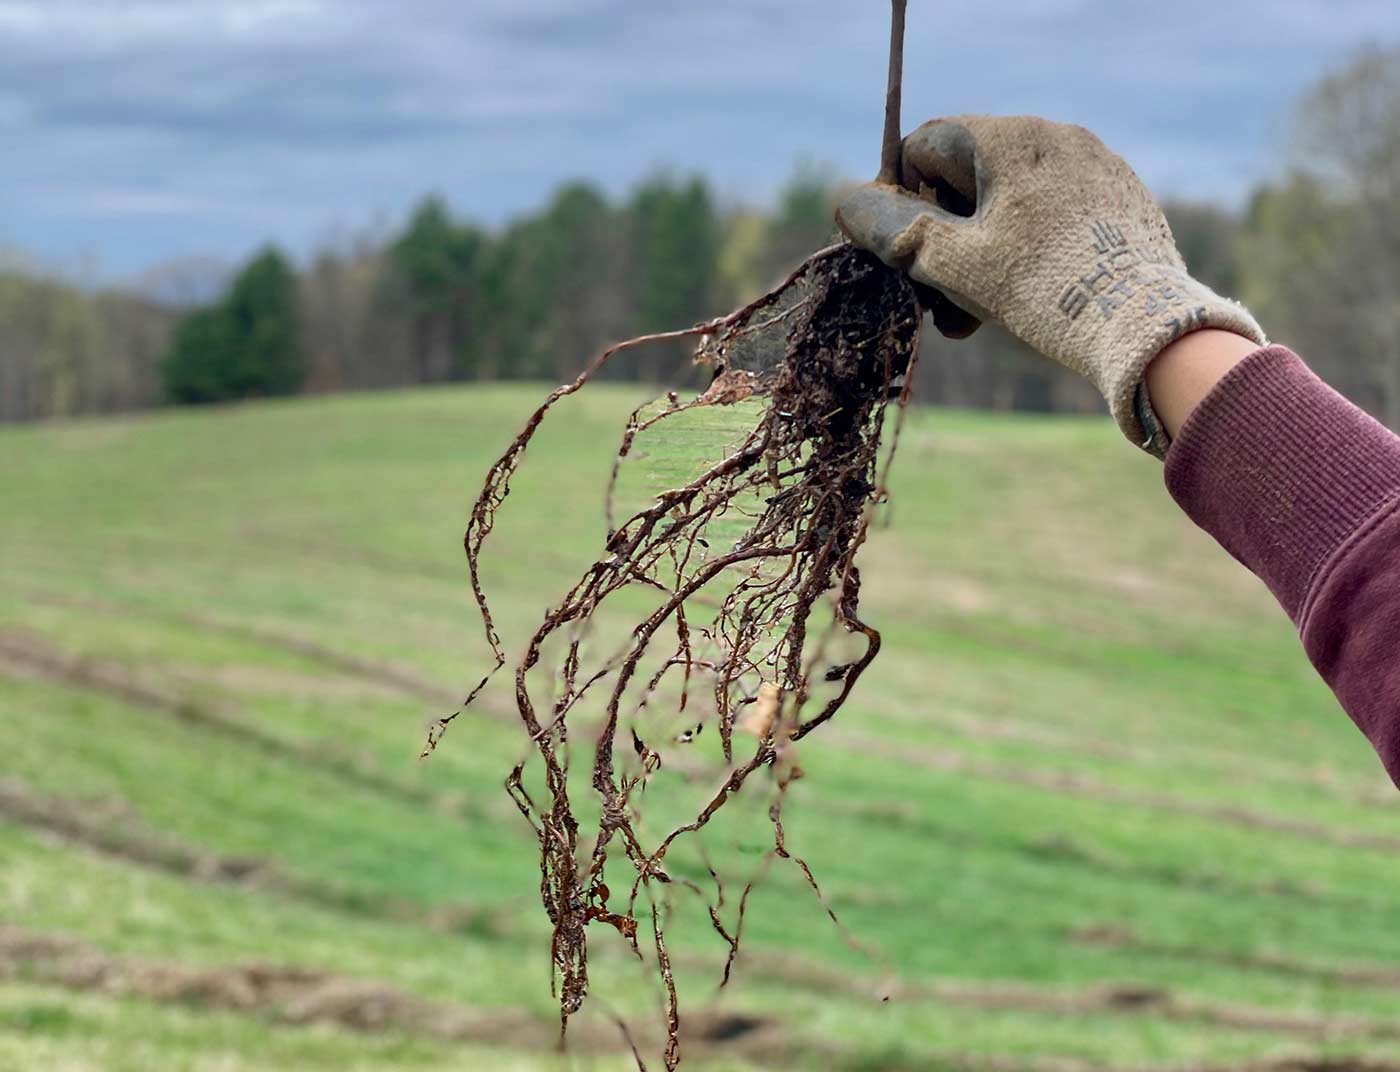
- Make sure that the roots do not circle in the hole; the tips can be trimmed or the planting hole can be enlarged. Circling roots will greatly impact the health of the tree.
- Spread out the roots and back fill with the removed topsoil and some additional compost. Add our Probiotic Biochar Soil Amendment to your topsoil-compost mix to give your tree a full spectrum of essential nutrients and beneficial bacteria and fungi.
- Water thoroughly after the soil is completely covering the roots (2-3 gallons, slowly).
- Top dress around the tree with an additional layer of compost, being sure not to bury the stem.
- (Adding a thick mulch of 2-3 inches of wood chips over the top dressing will help to prevent grasses and retain moisture.)
- You can add a layer of cardboard below the mulch as a weed barrier. We offer a customized cardboard weed mat that will ensure less weeding and better root establishment of your trees.
- For the first two weeks, water the tree every 2-3 days with approximately 5-10 gallons of water.
- Continue watering during the first growing season if the soil below the mulch layer dries out.
- Keep grasses and weeds cleared from around the tree while regularly adding mulch during the first several years.
- When using tree tubes, be sure to also clear leaves and weeds from inside the tube.
- We recommend a fence or tree tube at 6’ tall to prevent deer damage. We offer Plantra SunFlex Tree Tubes, which we’ve found to be the best for multi-year protection as well as increased growth.
- Watch it grow and enjoy the shade!
Planting Bare-Root Perennial Wildflowers
It is vital to keep the roots of your plants out of direct sunlight during the planting process. We recommend keeping them in a bucket with enough water to cover the roots while planting.
- Dig a hole wider and deeper than the root structure.
- In general, the plants should be planted with the old growth from last year (crown) right at the surface level. If there are no leaves or stems, plant the crown 0.5 inches deeper. If your plant is a singular bulb or tap root, plant 1-2 inches deep from the top of the root structure.
- Fill the hole back in with the soil you removed and some additional compost. Once the hole is filled, top dress with a layer of compost around the plant.
Planting Cuttings
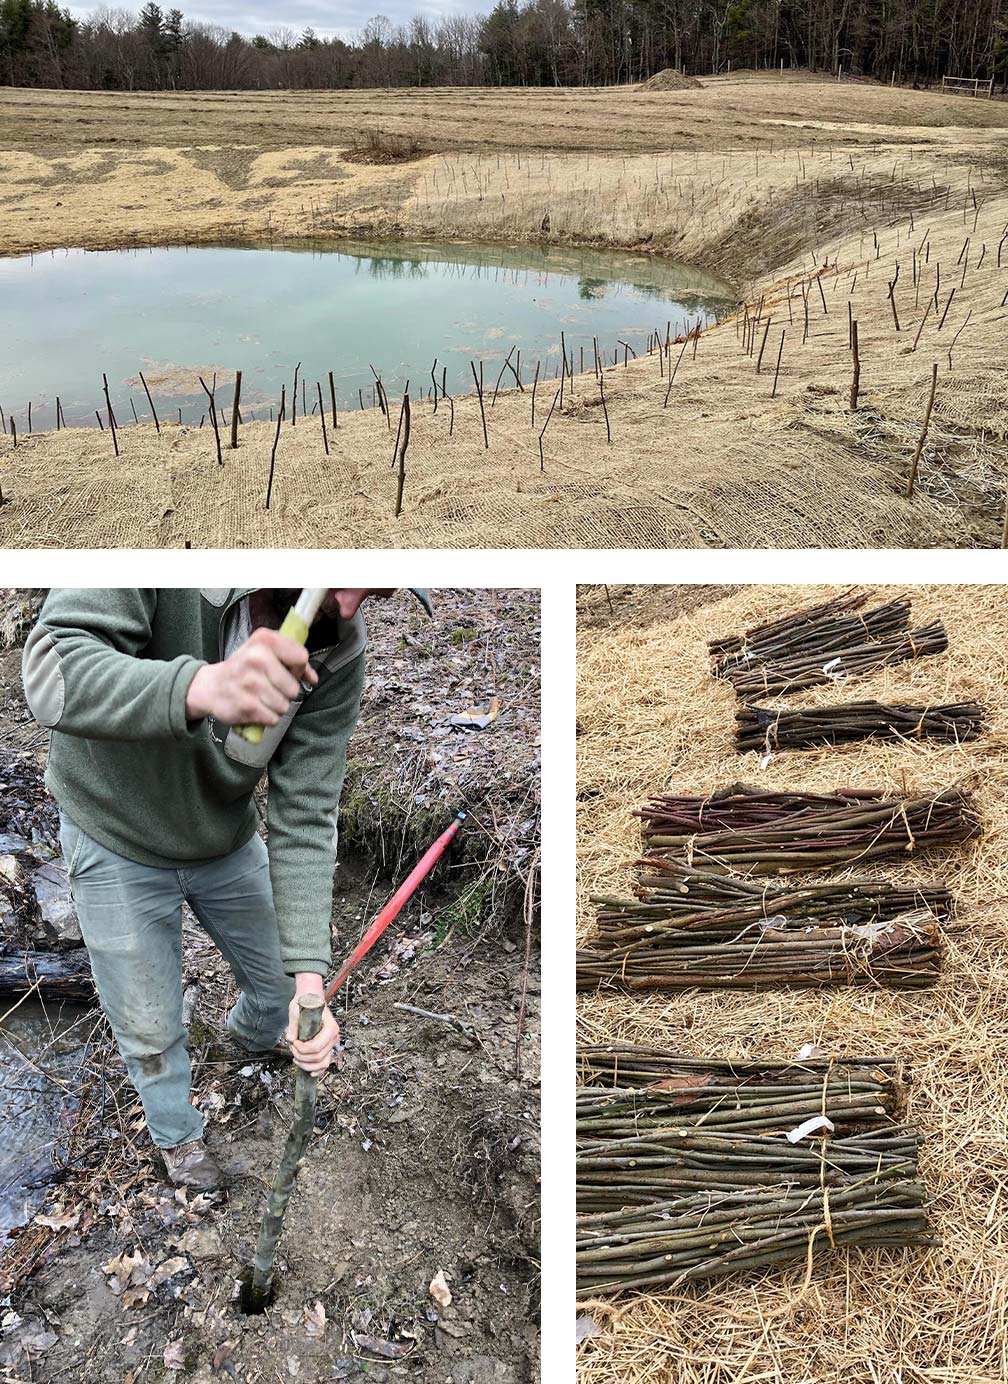
To ensure the success of your cuttings, they need to be planted in soil that will remain moist as the plant roots.
- Pre-dig a hole for your cuttings simply by pounding a small stake or a piece of rebar into the ground.
- Pull the stake or rebar out, and gently slide the cutting in the hole. If there are significant air pockets, backfill with top soil or compost. The cutting must be buried at least ⅔ deep in the soil, being sure to have two leaf buds above the surface.
- Thoroughly water cutting following establishment.
- Keep weeds away from the cuttings for the first year or so to ensure good establishment.
- Mulch with wood chips to retain moisture and suppress weeds.

Planting Potted Trees & Wildflowers
Our trees and wildflowers are potted in root-prune pouches. When you’re ready to plant:
- Pre-dig a hole for your plant to the depth of the pouch and slightly wider than the pouch diameter
- Using a box cutter or utility knife, cut an ‘X’ on the bottom of the pouch to pouch width.
- Place the pouch in the planting hole, then cut upwards while peeling back the pouch pieces from bottom to remove the pouch completely.