Fall ’25 Bare-Roots – Order Now – Farm Pickup or Shipping Starts 11/24
Fall ’25 Bare-Roots – Order Now – Farm Pickup or Shipping Starts 11/24
|
Lawns occupy more land in the United States than corn. They hog water and fertilizer, and are doused with herbicides. They provide little, if any, ecological benefit, carbon sequestration, or climate resilience. Yet, we’re obsessed with these wasteful green carpets. Do you like mowing every week? Some people say its meditative and relaxing. How about reading a book in a hammock surrounded by natural beauty instead?
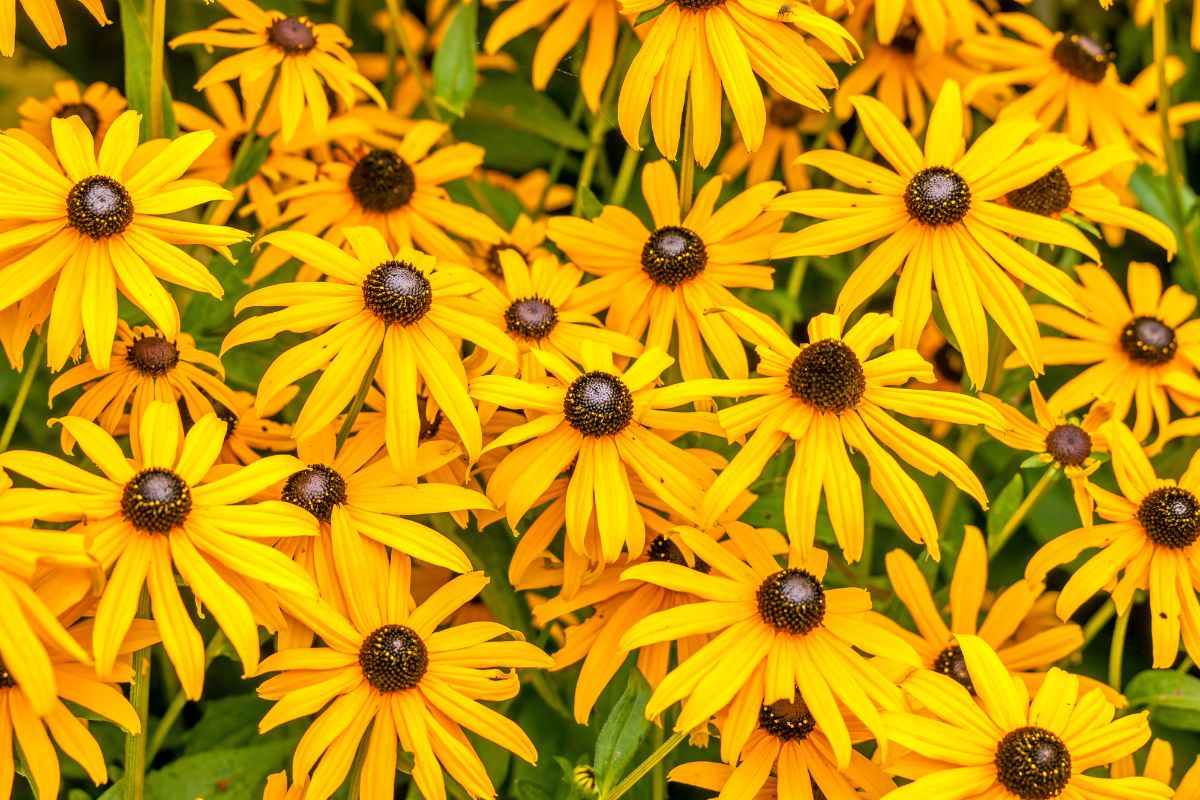
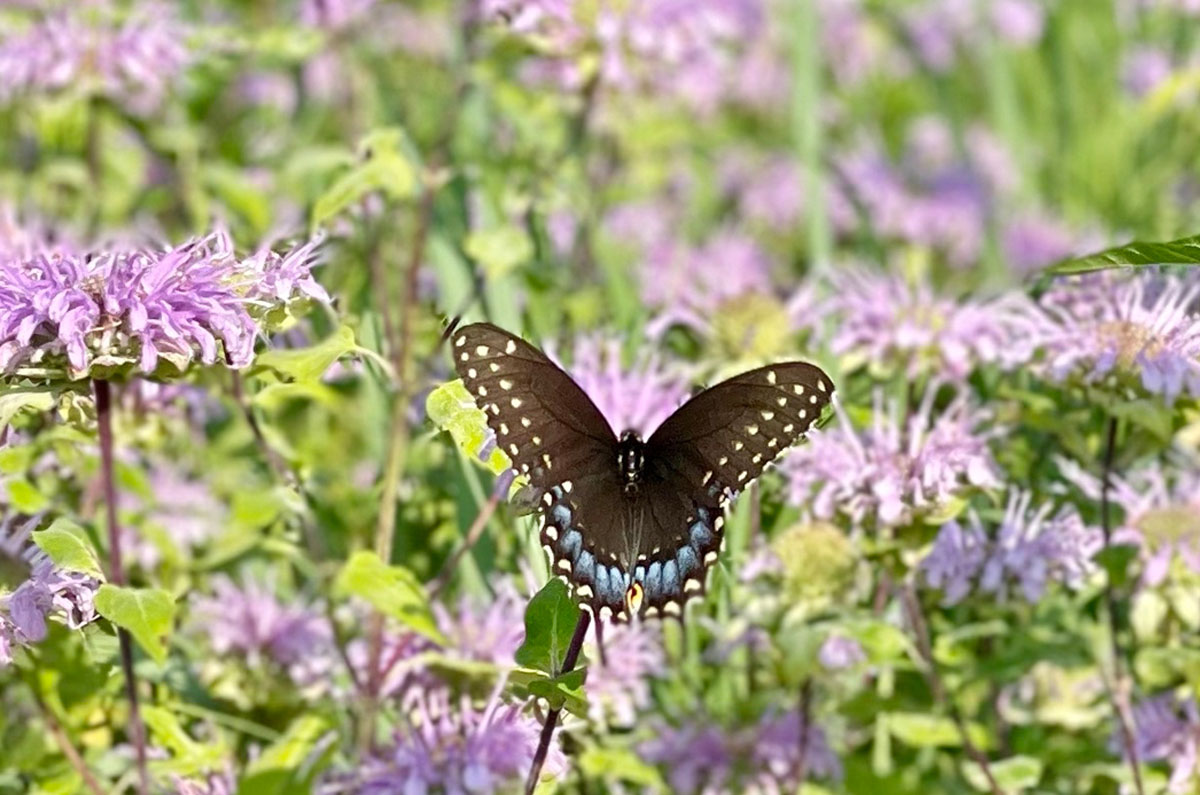
A smart and abundant alternative to the great American lawn exists: a native wildflower meadow! A place of dynamic beauty, aromatic pleasure, full of native birds, butterflies and bees. There’s a growing movement across the country to replace our sterile lawns with an abundance of native plants, from Doug Tallamy’s Homegrown National Park network to the Rewilding movement. Here in New York’s Hudson River Valley, Pollinate HV from our friends at Partners for Climate Action Hudson Valley provides a comprehensive resource on planting habitat for at-risk pollinators in our region. The website includes how-to guides, case studies, and a host of resources.
With the right planning and some good old-fashioned patience, a native wildflower meadow will provide years of low maintenance satisfaction. Follow the steps below and let nature do the work! Please note that we’re located in New York’s Hudson River Valley (Hardiness Zone 6a), so please adjust our recommendations for your region, especially on recommended seed mixes.
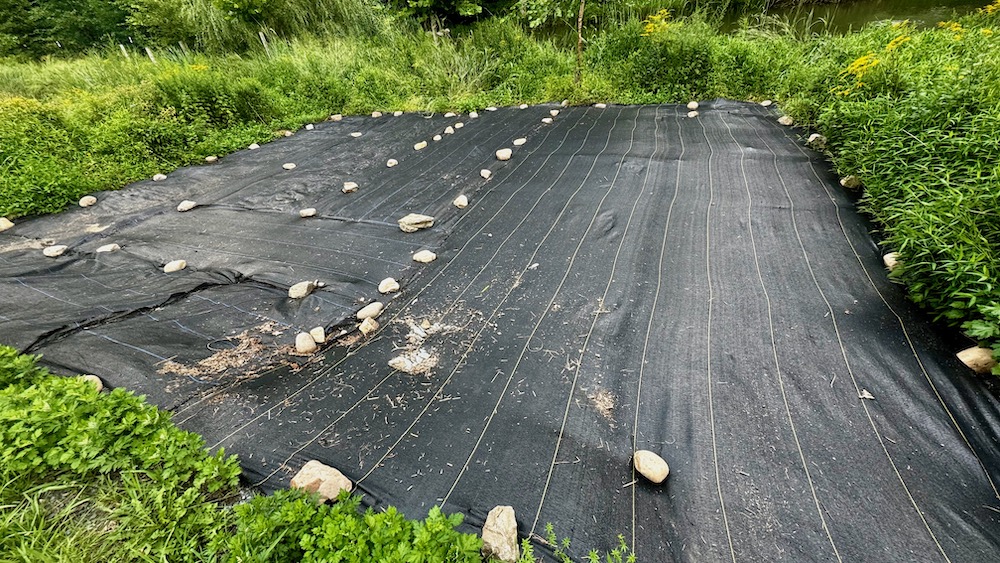
Most of our lawns contain non-native, cool season grasses that easily outcompete native, warm season wildflowers and grasses. So it’s essential that you kill your lawn before planting expensive native seeds. You have several options: excavation, sheet mulching, occultation/solarization, or tillage. Excavating the grass requires either a specialized sod cutter or some serious manual labor, but may be appropriate depending on your budget and the size of your project. Sheet mulching uses cardboard covered with mulch to smother the lawn, leaving a rich planting area after it breaks down. Occultation and solarization entail covering the lawn with either black landscape fabric or clear plastic until it dies. While fairly easy, it takes time and is more appropriate for smaller sites. Tillage requires a plow or rototiller so is generally appropriate for larger areas, but is rather quick and easy if you have access to the equipment.
Whatever you do, don’t use herbicides! The most beautiful wildflower meadow in the world isn’t worth poisoning your home.

The first decision you need to make is whether to use containerized plants or seeds. The answer is dictated by several factors: project size, design, budget, and the timing of your project. Containerized plants (plugs or pots) are better for smaller projects, like a discreet bed or area of your yard where the design dictates certain species be located in specific clusters. The obvious limitation of containerized plants is the cost; the advantage is time to establishment. So, for natural meadows of any significant size, establishing with seeds is the direction you’ll want to go.
After removing, cooking, smothering, or pulverizing your lawn, the next step is to prepare a soft and fluffy seed bed. Again, there are many ways to accomplish this. For a large area (2+ acres), you should use agricultural tillage equipment like a chisel plow and disc harrow to loosen the soil and incorporate residual biomass. Anything more than a half acre or so, we recommend a rototiller like the one below. For smaller areas, a manual rake is fine.
A native meadow includes a diverse mix of perennial wildflowers and warm season grasses. These seeds are expensive and easy to waste. The most important thing in choosing a mix is that the species mix is as suitable to the conditions where you’re planting. Here are some native wildflower and grass mixes we like from Ernst Seeds in Pennsylvania:
– Showy Northeast Native Wildflower & Grass Mix (ERNMX-153) – 15 lbs/acre
– Mesic to Dry Native Pollinator Mix (ERNMX-105) – 20 lbs/acre
You can adjust the ratio of more expensive wildflower seeds and less expensive (but still not cheap!) native grass seeds by purchasing the mixes separately.
– Showy Northeast Native Wildflower Mix (ERNMX-153-1) – 6-10 lbs/acre
– Mesic to Dry Native Pollinator (Wildflowers Only) Mix (ERNMX-125) – 5-10 lbs/acre
– Eastern Ecotype Native Grass Mix (ERNMX-177) – 10-15 lbs/acre
Use the lower end of the suggested seed rate. If you leave herbaceous perennials to seed and only mow them once a year in the late winter or early spring, they will self-sow and build thickets and clumps of species based on their habitat preference. For more information on establishing pollinator habitat, including seed recommendations for your region, check out the Xerces Society or Ecological Landscape Alliance websites.


Sow the meadow seed mix with 30 lbs/acre of field oats if planting in the spring or the same amount of winter rye if planting in the fall. We prefer fall planting in our area to provide more moisture when the meadow seeds germinate in early spring. If fall planting, wait until the soil temperature is consistently below 50 degrees so the warm season native seeds don’t germinate before winter. But don’t wait until it’s so cold that the rye won’t start growing. In our area in New York’s Hudson Valley, optimal planting time is late October or early November. The winter rye cover crop will germinate and grow after the first frost or when the soil is generally too cold for the warm season meadow seeds to start growing. The winter rye will also start regrowing in late winter or early spring and out-compete the remaining cool season perennial grasses. When the soil warms and you cut the rye in late spring, the meadow seeds will start to establish well.
It’s important to have good soil-seed contact so we recommend using a roller, chain harrow, or the backside of a rake to press the seeds down into the top of the soil bed.
The winter rye will grow into the late fall and then resume growth in early spring. It will grow up faster than any remaining grasses that you failed to kill the previous season. Let it grow until it’s about to seed and then mow or weed whack it at about 5-6 inches. By this time, the soil will have warmed enough for the native wildflowers and grasses to have germinated and started to establish.

When planted from seed, native perennials take time. But once established, they’ll flourish for years to come with little to no maintenance. Most native wildflowers and grasses require more than one growing season to get established from seed. Your goal is to let them grow with as little competition from faster-growing, non-native, cool season grasses. This is why the preparation above is so important. Once you’ve cut the cover crop (Step 6), the warmer natives will begin to grow, but slowly in that first year. Let them be, even if it doesn’t look like much. That first season is for germination and establishment. Your patience will be rewarded in the second growing season. Every season, only mow once a year in the late winter or early spring. This will allow your natives to go to seed and continue the meadow’s evolution and growth for many years to come.